local磁盘扩容
由于自动分了2个盘,local和local-lvm,为了扩中根目录分区,进行以下操作:
原文链接
https://zhuanlan.zhihu.com/p/624319515?utm_id=0
操作过程
命令行执行
lvremove pve/data
lvextend -l +100%FREE -r pve/root
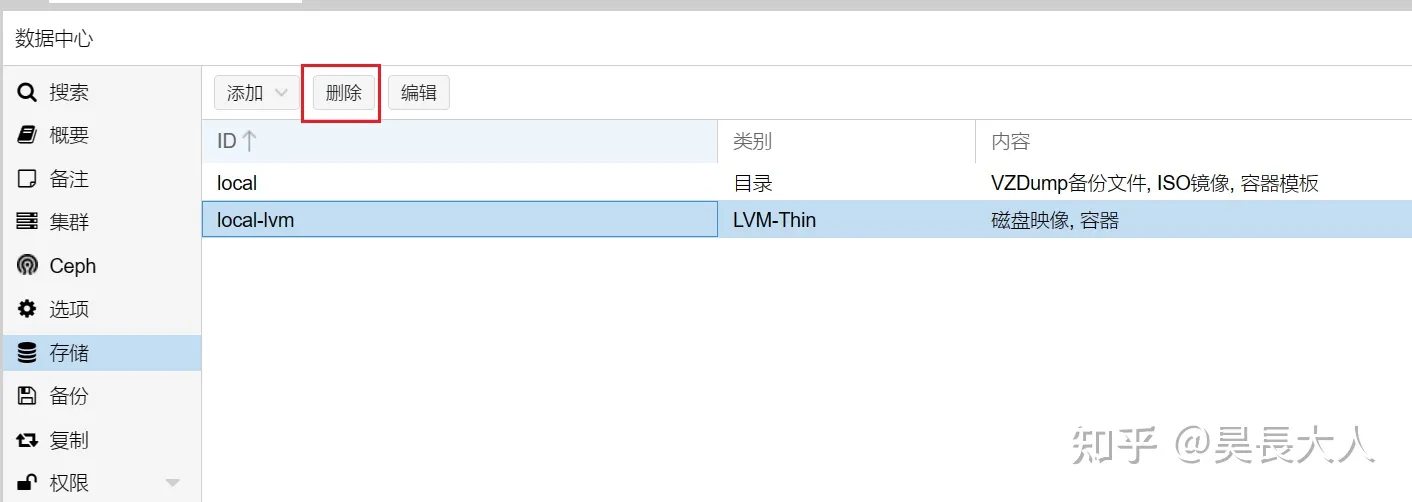
图形界面删除local-lvm
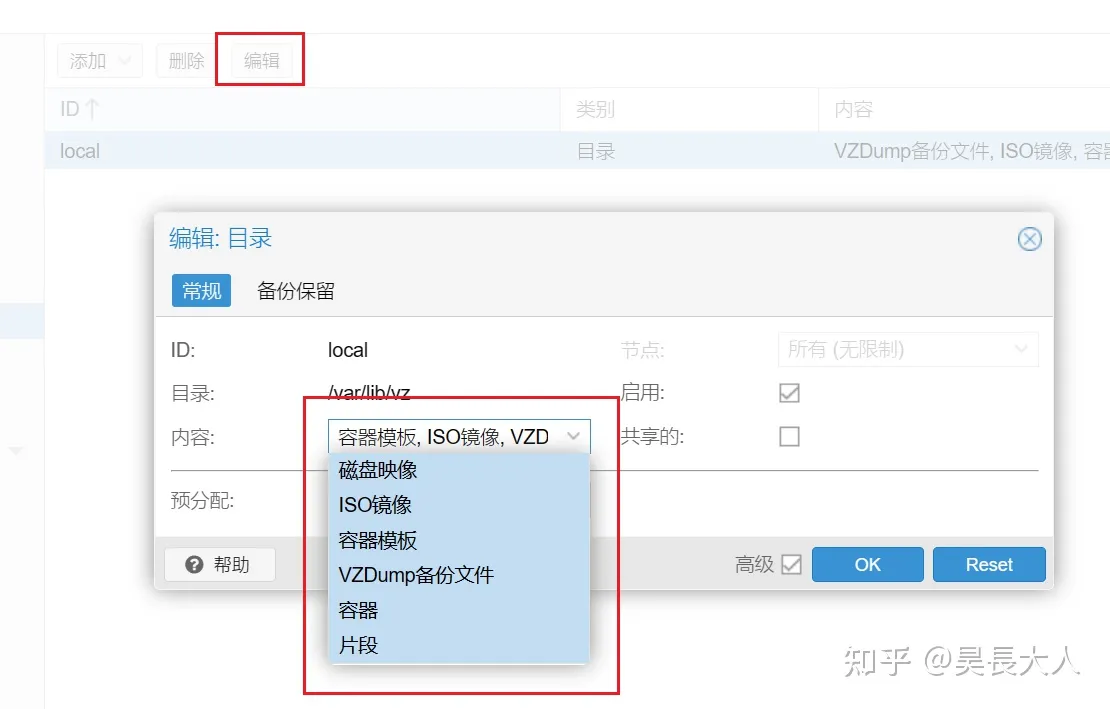
对local添加内容(全部勾选)
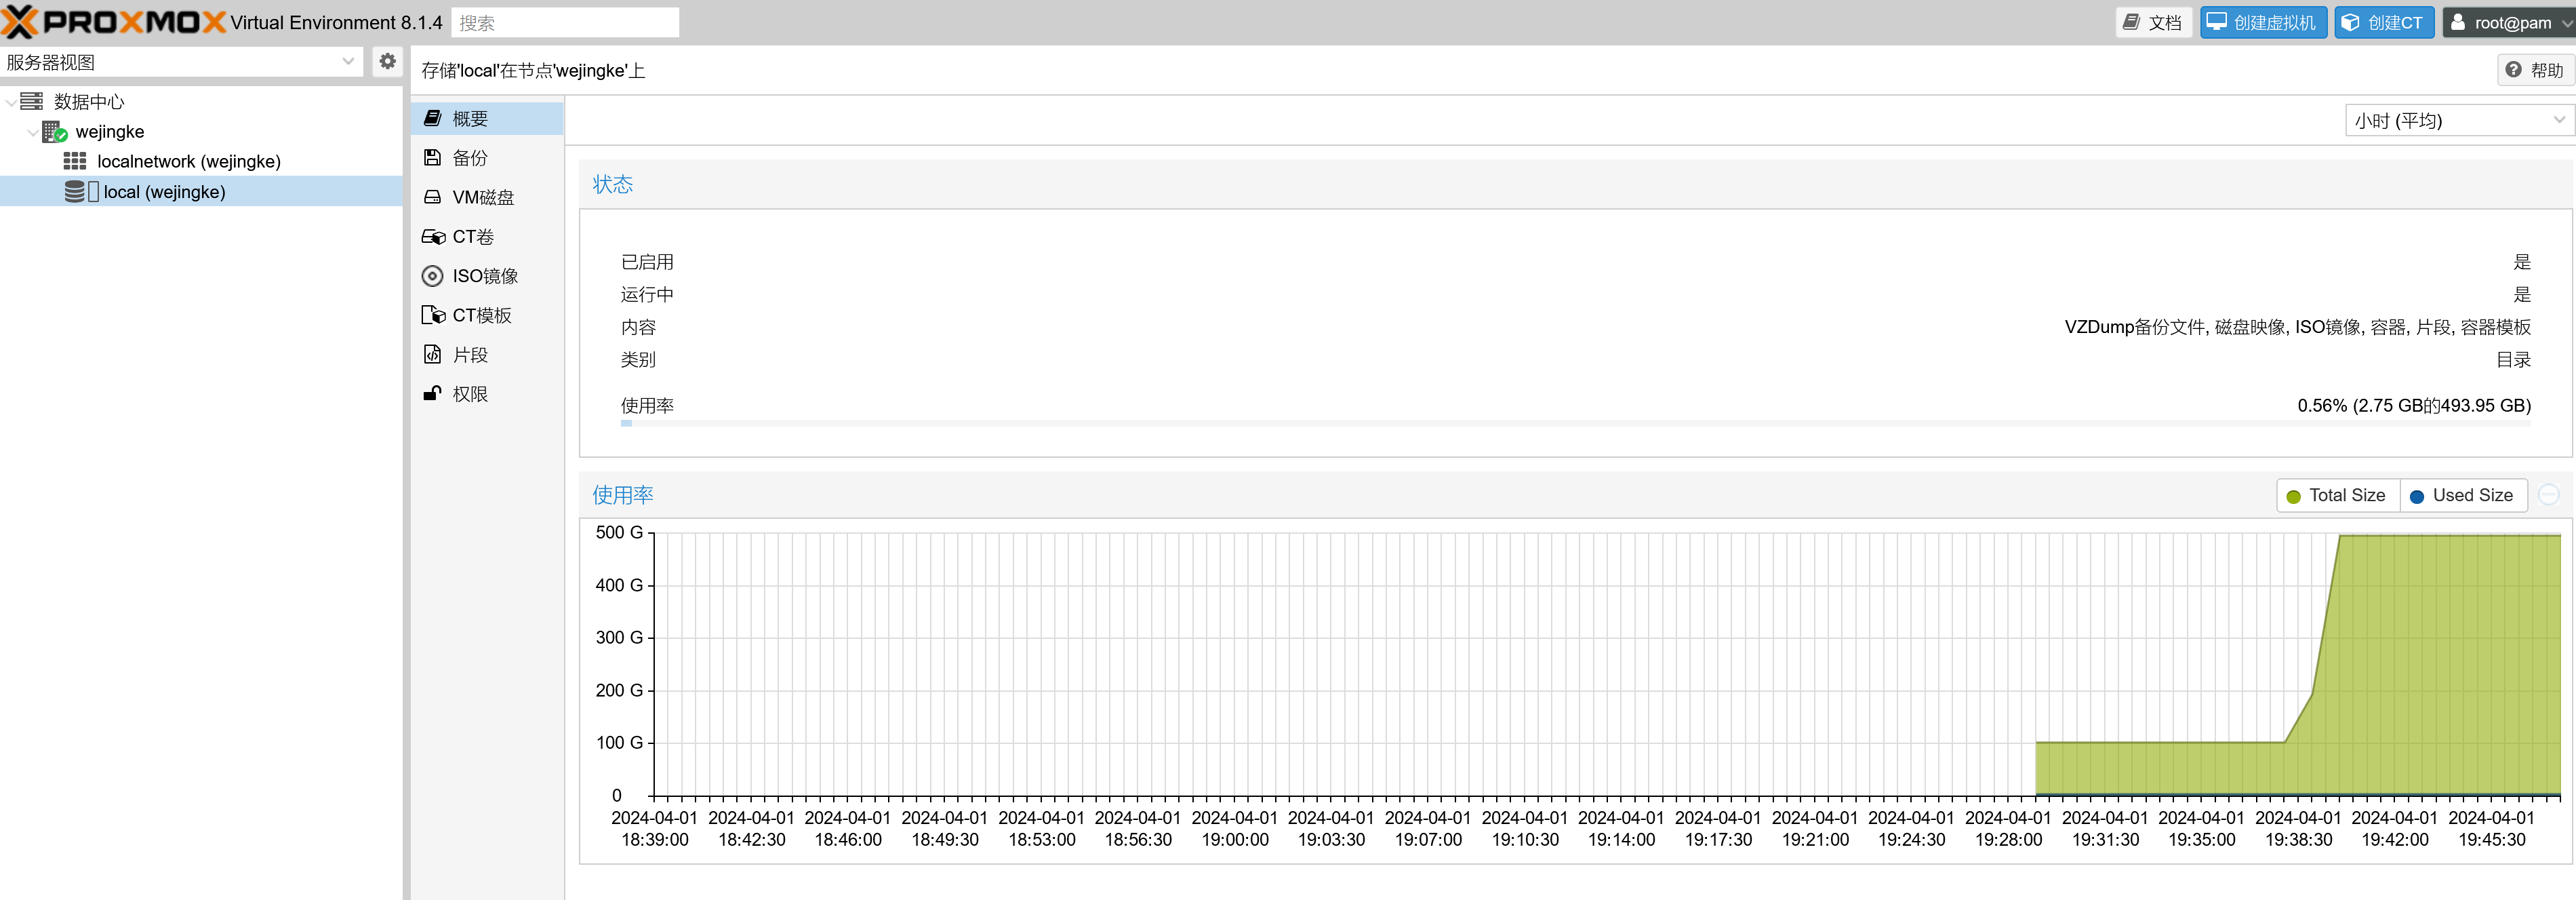
结束,效果如下:
更换国内源
原文链接
https://www.bilibili.com/read/cv31841352/
https://blog.csdn.net/sunhy866/article/details/135446427
操作内容
设置 debian 清华源
cat>/etc/apt/sources.list <<EOF

# 默认注释了源码镜像以提高 apt update 速度,如有需要可自行取消注释
deb https://mirrors.tuna.tsinghua.edu.cn/debian/ bookworm main contrib non-free non-free-firmware
# deb-src https://mirrors.tuna.tsinghua.edu.cn/debian/ bookworm main contrib non-free non-free-firmware

deb https://mirrors.tuna.tsinghua.edu.cn/debian/ bookworm-updates main contrib non-free non-free-firmware
# deb-src https://mirrors.tuna.tsinghua.edu.cn/debian/ bookworm-updates main contrib non-free non-free-firmware

deb https://mirrors.tuna.tsinghua.edu.cn/debian/ bookworm-backports main contrib non-free non-free-firmware
# deb-src https://mirrors.tuna.tsinghua.edu.cn/debian/ bookworm-backports main contrib non-free non-free-firmware

deb https://security.debian.org/debian-security bookworm-security main contrib non-free non-free-firmware
# deb-src https://security.debian.org/debian-security bookworm-security main contrib non-free non-free-firmware

EOF
ceph国内源
nano /etc/apt/sources.list.d/ceph.list
通过nano命令修改/etc/apt/sources.list.d/ceph.list文件,修改完成后如下所示
# deb https://enterprise.proxmox.com/debian/ceph-quincy bookworm enterprise deb https://mirrors.ustc.edu.cn/proxmox/debian/ceph-quincy/ bookworm no-subscription
然后执行如下命令
cp /usr/share/perl5/PVE/APLInfo.pm /usr/share/perl5/PVE/APLInfo.pm_back
sed -i 's|http://download.proxmox.com|https://mirrors.tuna.tsinghua.edu.cn/proxmox|g' /usr/share/perl5/PVE/APLInfo.pm
然后执行apt update的时候出现以下异常:
Err:35 https://enterprise.proxmox.com/debian/pve bookworm InRelease
  401  Unauthorized [IP: 51.79.228.122 443]
Reading package lists... Done
E: Failed to fetch https://enterprise.proxmox.com/debian/pve/dists/bookworm/InRelease  401  Unauthorized [IP: 51.79.228.122 443]
E: The repository 'https://enterprise.proxmox.com/debian/pve bookworm InRelease' is not signed.
N: Updating from such a repository can't be done securely, and is therefore disabled by default.
N: See apt-secure(8) manpage for repository creation and user configuration details.
N: Repository 'Debian bookworm' changed its 'non-free component' value from 'non-free' to 'non-free non-free-firmware'
N: More information about this can be found online in the Release notes at: https://www.debian.org/releases/bookworm/amd64/release-notes/ch-information.html#non-free-split
解决方法:
mv /etc/apt/sources.list.d/pve-enterprise.list /etc/apt/sources.list.d/pve-enterprise.list.bak
mv /etc/apt/sources.list.d/ceph.list /etc/apt/sources.list.d/ceph.list.bak
去掉无有效订阅的弹窗,
在这个路径为:/usr/share/javascript/proxmox-widget-toolkit/proxmoxlib.js,用编辑工具搜索“data.status” ,修改为if (false) { 然后执行:
systemctl restart pveproxy
自动获取IPV6地址
命令行执行:
echo "net.ipv6.conf.all.accept_ra=2

net.ipv6.conf.default.accept_ra=2

net.ipv6.conf.vmbr0.accept_ra=2

net.ipv6.conf.all.autoconf=2

net.ipv6.conf.default.autoconf=2

net.ipv6.conf.vmbr0.autoconf=2" > /etc/sysctl.conf


sysctl -p
设置直通
SSH工具连接PVE
nano /etc/default/grub
找到GRUB_CMDLINE_LINUX_DEFAULT="quiet",修改为
GRUB_CMDLINE_LINUX_DEFAULT="quiet intel_iommu=on pcie_acs_override=downstream"
保存之后,输入 update-grub 更新系统
继续执行下面命令
nano /etc/modules
在里面添加以下代码:
vfio
vfio_iommu_type1
vfio_pcioptions
vfio_virqfd
到这里,直通设置完毕。
ddns-go
以下网址下载ddns-go可执行文件:
https://github.com/jeessy2/ddns-go/releases
下载完成后解压,得到ddns-go,执行如下命令:
./ddns-go -s install
此命令在系统中已服务的方式安装ddns-go,可以通过如下命令查看程序运行状态:
systemctl status ddns-go

● ddns-go.service - Simple and easy to use DDNS. Automatically update domain name resolution to public IP (Support Aliyun, Tencent Cloud, Dnspod, Cloudflare, Callback, Huawei Cloud, Baidu Cloud, Porkbun, GoDaddy...)
     Loaded: loaded (/etc/systemd/system/ddns-go.service; enabled; preset: enabled)
     Active: active (running) since Tue 2024-04-02 19:56:26 CST; 16min ago
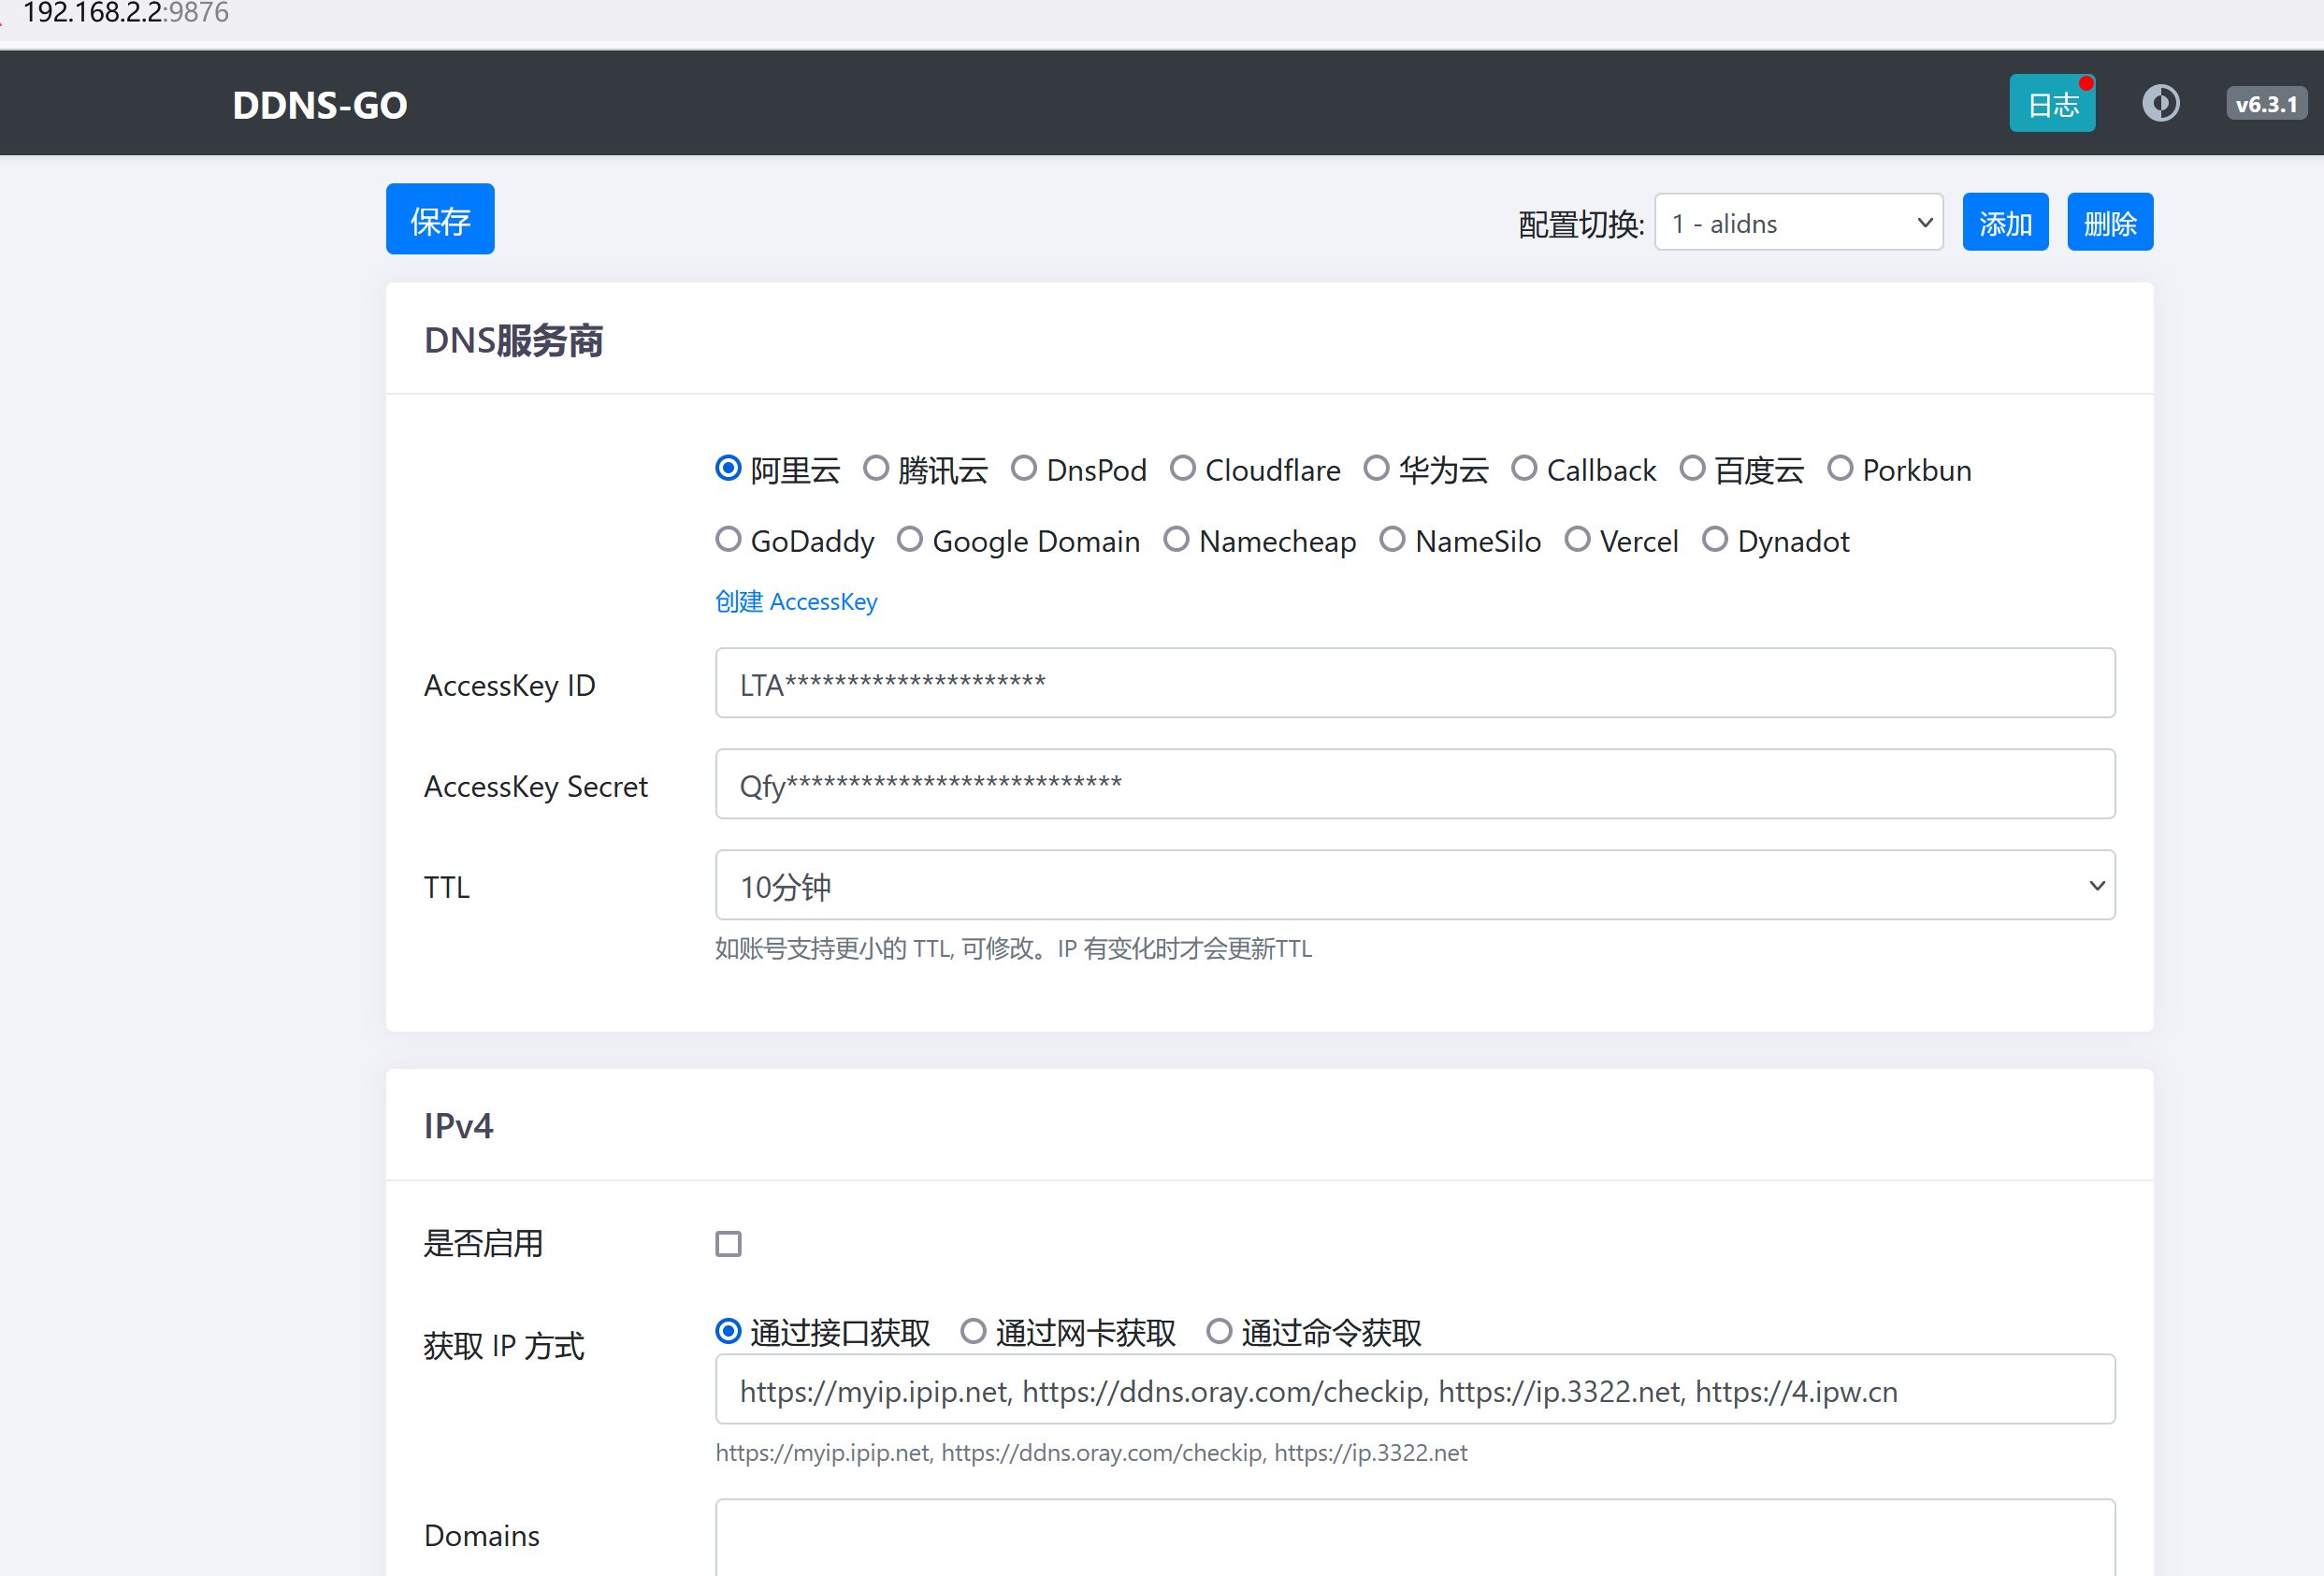
运行之后默认会在监听9876端口,浏览器打开机器的9876端口进入配置页面:
我这里仅配置ipv6地址,通过命令获取ipv6地址:
ip -6 addr| grep inet6|grep 2409|awk -F '[ \t]+|/' '$3 == "::1" { next;} $3 ~ /^fe80::/ { next;} /inet6/ {print $3}'
更改ssh端口
由于22端口无法通过ipv6连通,因此修改ssh的默认22端口:
编辑/etc/ssh/sshd_config文件,注释调以下部分,并修改端口:
Port 6622
重启ssh服务:
systemctl restart ssh
显示CPU、硬盘温度
安装CPU温度检测软件sensors
apt install lm-sensors -y
直接参考这篇博客Proxmox ve(PVE) 显示CPU和硬盘温度、UPS信息
修改 /usr/share/perl5/PVE/API2/Nodes.pm
vi /usr/share/perl5/PVE/API2/Nodes.pm
在里面搜索定位到 PVE::pvecfg::version_text();
在这行下面添加一行 $res->{sensorsInfo} = sensors;
修改/usr/share/pve-manager/js/pvemanagerlib.js
vi /usr/share/pve-manager/js/pvemanagerlib.js
在里面搜索定位到 Manager Version
在花括号结束的地方,另起一行,写入我们的代码
{
        itemId: 'sensorsInfo',
        colspan: 2,
        printBar: false,
        title: gettext('CPU温度'),
        textField: 'sensorsInfo',
        renderer:function(value)
        {
            const p0 = value.match(/Package id 0: +\+(\d+\.\d+)/)[1];
            const c0 = value.match(/Core 0: +\+(\d+\.\d+)/)[1];
            const c1 = value.match(/Core 1: +\+(\d+\.\d+)/)[1];
             return `Package: ${p0} ℃ || 核心1: ${c0} ℃ | 核心2: ${c1} ℃ `
        }
    },


文章评论